Secrets of a Camera Novice - TUTORIAL
Well, maybe I'm not a novice, but I'm definitely an amateur. I began taking photos for my Etsy shop with a Fujifilm CoolPix before I switched to a Nikon D40. Here is one of the first photos of my sculptures:
------------------------------->
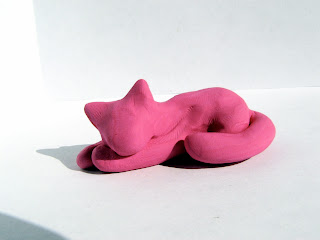
Pink Catnap Summer 2007
(below) Green Frolic Winter 2007
After I got my Nikon D40, I continued taking photos with my makeshift light box (two pieces of paper!). Only now, I had a better grasp on lighting – notice the background isn't as defined and the shadows are minimal – this is because I used indirect natural light. I also changed the angle of my photography.
Though my photography had improved, I still felt I hadn't developed my own 'style' yet. I looked at some really successful shops over on Etsy to see how they created their style in photos. They all had a way of photographing their items in a unique way that highlighted their beauty and functionality.
ALTERATION TUTORIAL
Here I'll walk you through my process of altering photos. I use Aperture (one of the best investments I've made next to my camera and my remote) but you can use Photoshop, Photoshop Elements, Fireworks or a free program called GIMP. Either way, you'll need to do some fishing around to see what they call all the tools I refer to in the tutorial.
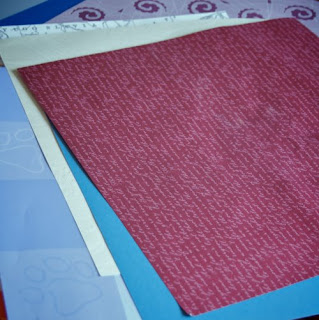
First, I chose my background for my photos. It's important to pick something that compliments your work. It should be simple an not take away from the object you are photographing. Here I used scrapbook paper Second, I set up my workspace. I chose my table because it has the most indirect natural lighting. I also have a tripod so I don't have blurry images. Sometimes you need to go a step further and use a remote or the self timer to eliminate camera shake.
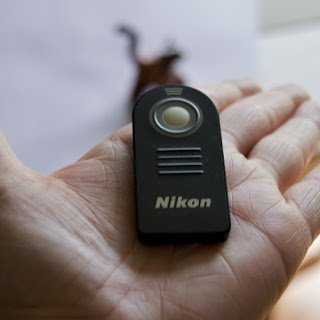
***Remote Control and Tripod: it's a small investment for being able to take photos in a not so forgiving light – and NOT be blurry! After I take the photos (at least 6 of each object) I settle in for some tea and alterations!
P. S. Take many, many photos if you want to fill your 5 slots on Etsy. I took 6 of each sculpture just to get my listing photo!
THE NITTY-GRITTY OF ALTERING
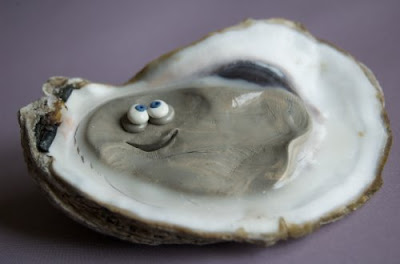
Step by step alterations of a polymer oyster I purchased from Paula at PolymerPaws:
FIRST PHOTO

And one more example using my own Ivy Frolic sculpture:


I'm Renovia from Endless Whimsy, I teach music and love photography,cats and polymer clay. I'm a member of Sellers Assisting Sellers Mentor Team as well as c0-treasurer of EFA Artists Helping Animals.


5 comments:
This looks great! Well done!
So beautiful, great work! ;0) Love that swirly kitty cat!!!!! Mvegan5
Very interesting post - your photos look fantastic!
P.S. A remote control sounds like a good thing to have.
Great post! Photos look awesome!
Photos lok great! Thanks
Post a Comment